THE INSPIRATION
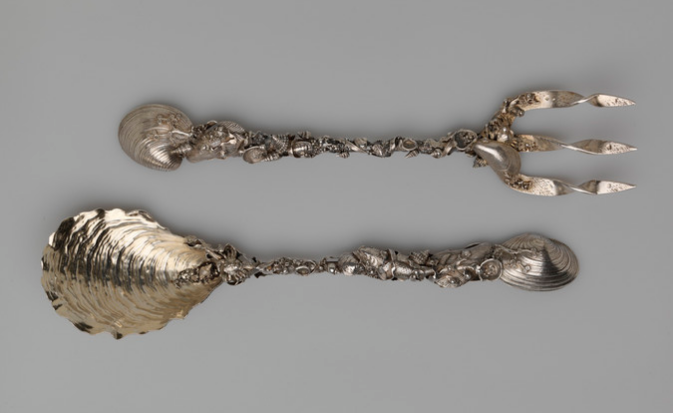
This salad spoon and fork set, made by the Gorham Manufacturing Company ca. 1885, is named after the coastal town of Narragansett, Rhode Island. Replete with intricately detailed shells, seaweed, and sea creatures—including small fish and tiny crabs—these two sea-encrusted utensils were my point of inspiration for a set of five brooches. In the following article I will describe some of the basic processes used to create my Narragansett-inspired jewelry.
RUBBER MOLD-MAKING
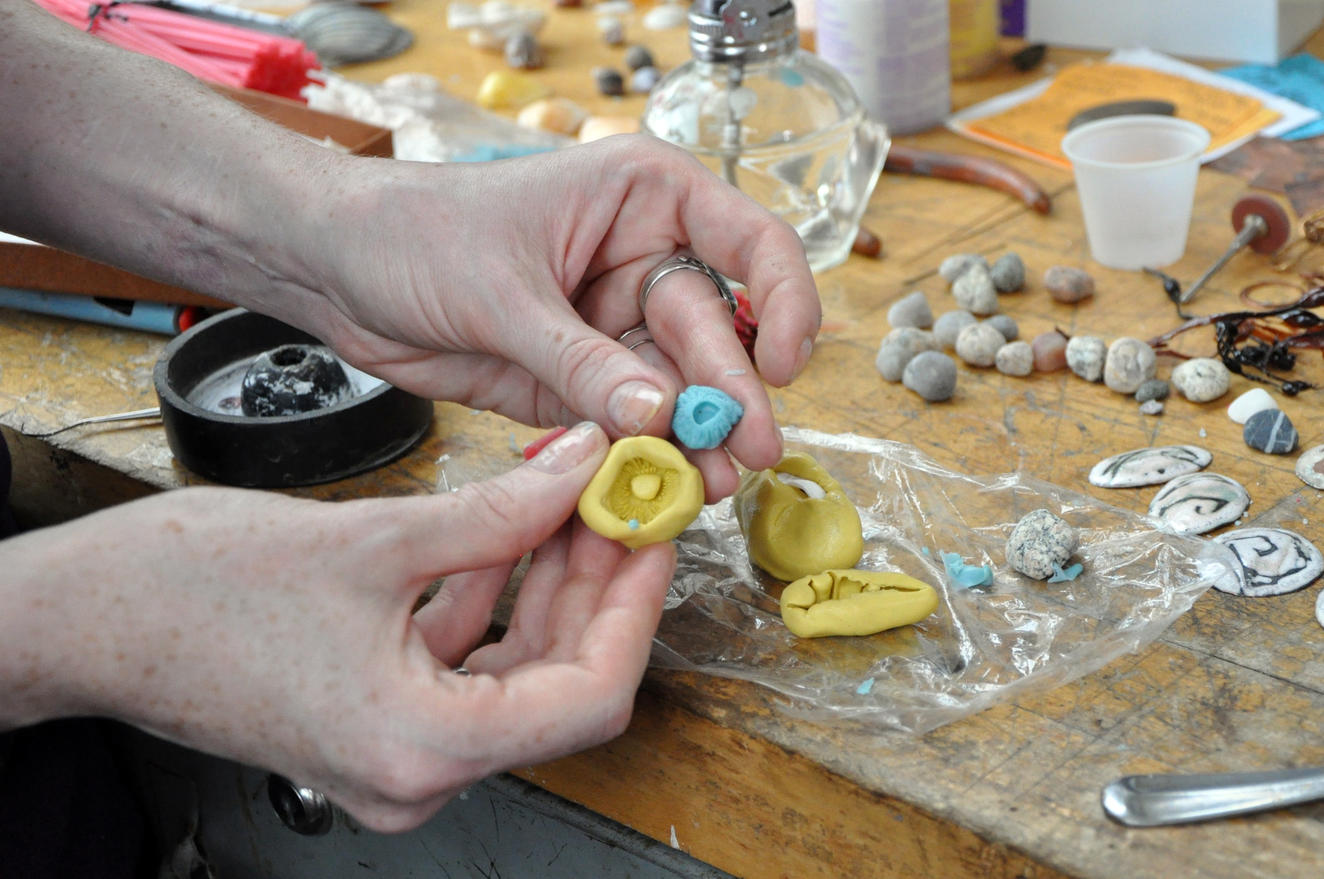
I wanted the sea-elements I used in my pieces to be roughly the same scale as those found in the Narragansett set. Due to the short timeframe, I needed a fast, easy way to make rubber molds of small shells. A simple two-part rubber mold-making compound [Amazing Putty] allowed me to make many small molds quickly and efficiently, with very little material wasted. The first step is to take equal parts of both compounds (white and yellow in color) and mix them together until they become one uniform color.
Once the putty is a consistent color, I form it around my shell, covering as much as possible but leaving an opening. This will allow me to get my shell out and to pour hot wax into the mold once it is ready. This rubber mold-making compound takes 20 minutes to cure, or set. After 20 minutes, the mold is hardened and the shell inside can be removed.
Using a small alcohol lamp, I heat some wax on a spoon. Once the wax is melted, I’m ready to carefully pour the liquid wax into my rubber mold.
After filling the mold with liquid wax, I have to wait for it to cool completely before taking it out of the mold.
Once the wax is completely cooled, it can be removed from the rubber mold. Voila! A perfect wax casting of a barnacle.
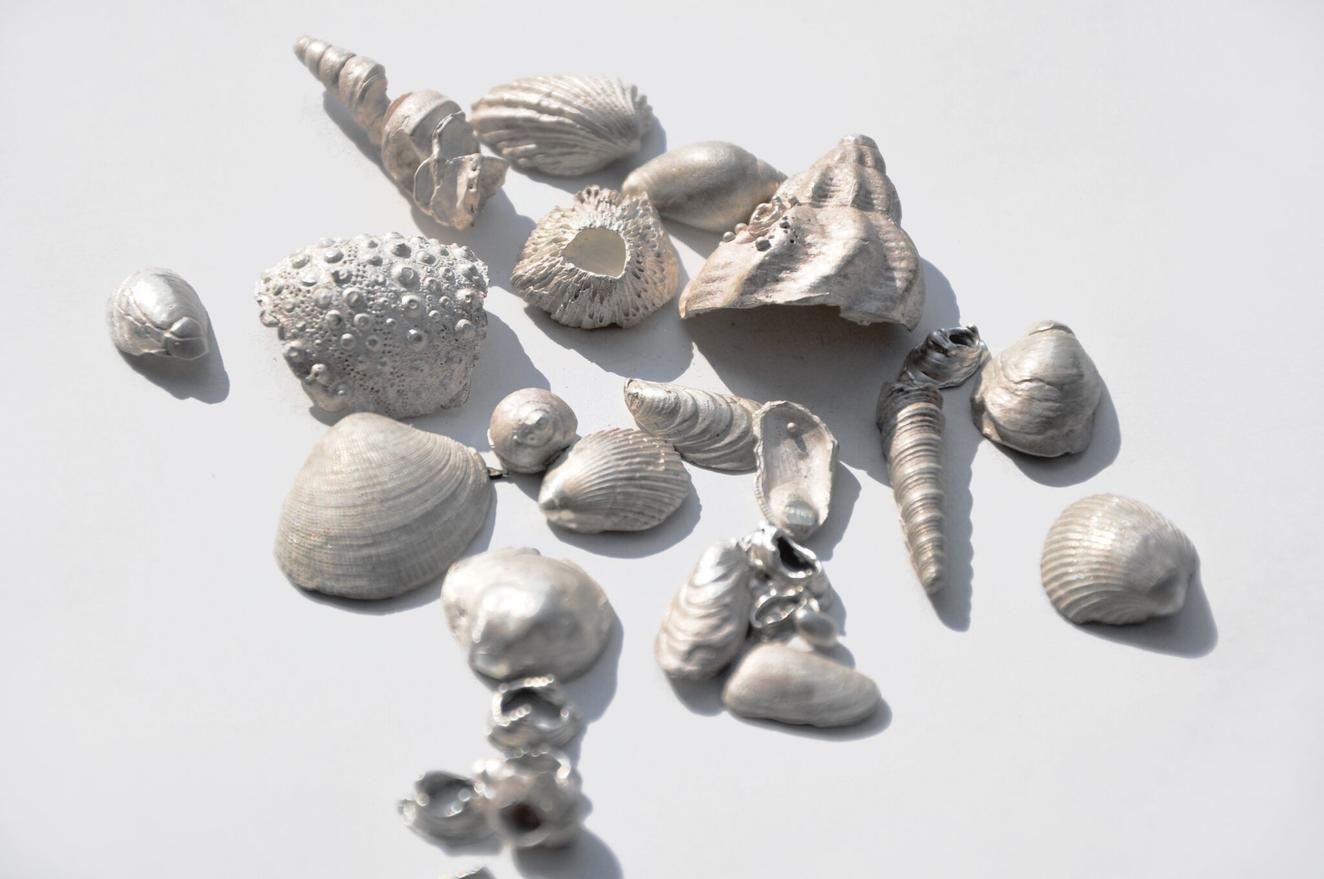
Here is an organized view of the final products of the mold-making and casting process. At the top are the original shells, next are the rubber molds, followed by the wax castings made from those molds, and, finally, the cast sterling-silver elements. In the following slides you’ll see how these silver castings were created.
MAKING A WAX SPRUE TREE
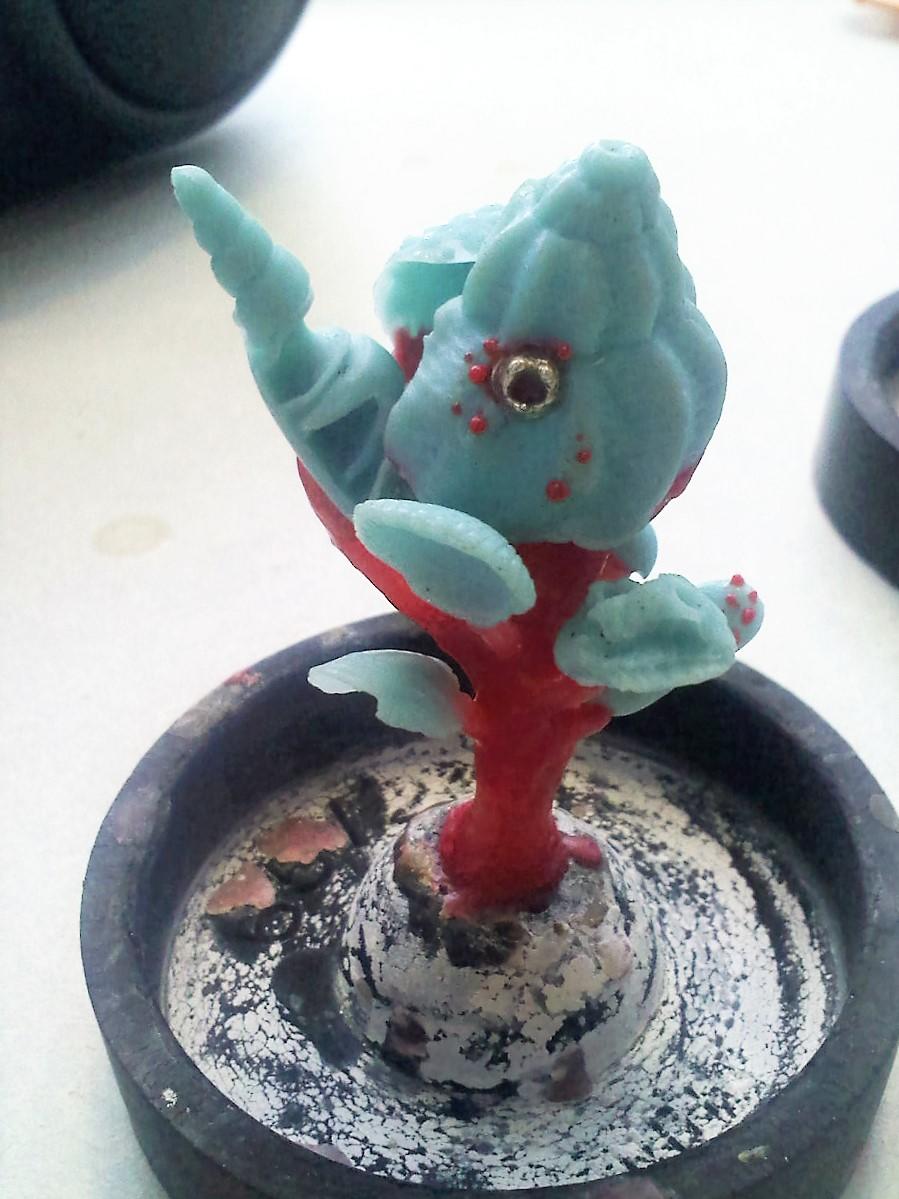
Because of the extremely high temperatures needed to cast in molten metal, a different kind of mold needs to be used. The first step to casting in metal is creating the mold using the wax castings. The wax shell elements are attached to short wax wires/pegs/spokes? that are arranged on a long cylindrical piece of wax. The complete form (which is entirely made of wax) looks like a tree, hence the name sprue tree. Above are pictures of my little wax shells on sprue trees affixed to (rubber) flask bases.
Here is a picture of the wax sprue tree on the rubber flask base with the metal flask around it. The base creates a tight seal around the bottom of the flask—essentially forming a cup that will hold liquid plaster (known as “investment”).
Once the investment is poured into the flask, it will completely cover the wax sprue tree. After about 2 hours the liquid investment will harden (cure) and the rubber base is removed before the flask is put into a kiln. The flask will sit in the kiln for at least seven hours and reach a maximum temperature of 1250 degrees. During this time the wax will completely melt and burn off, leaving a negative space in its exact shape of the wax sprue tree within the plaster. This negative space will be filled by liquid metal during casting. Here we go!
CASTING
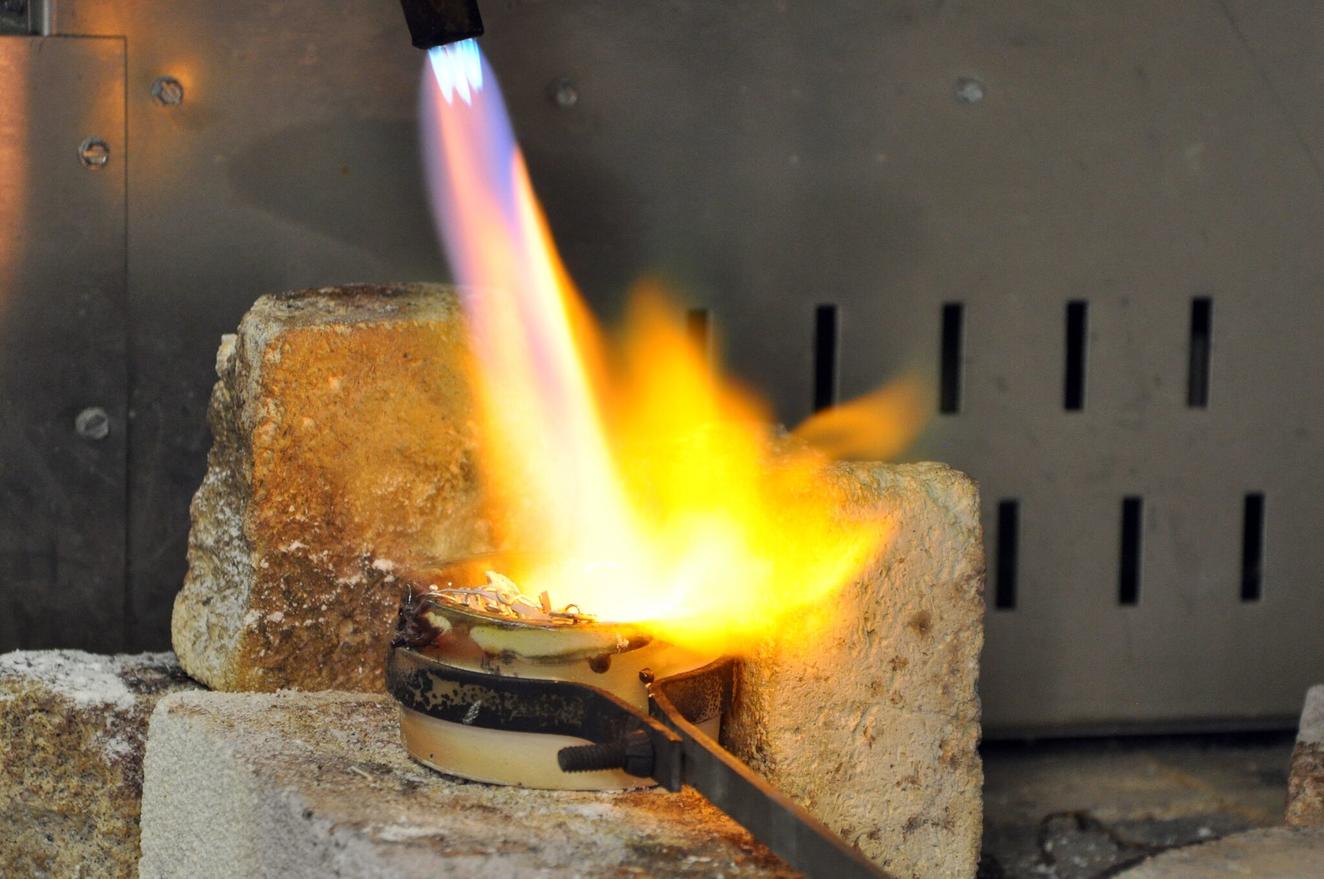
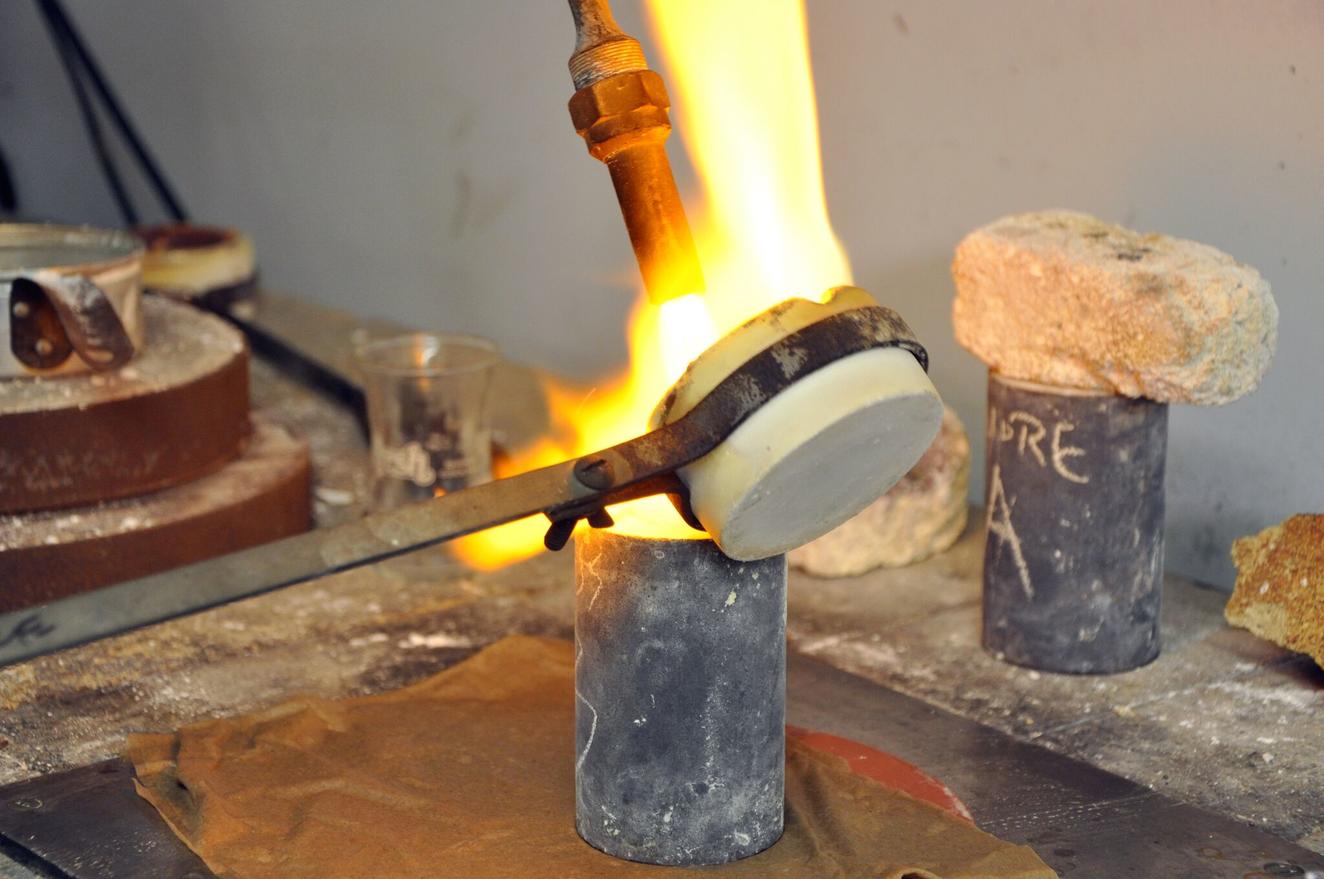
First I need to heat the silver until it’s completely molten. I know it’s ready when all the lumps are gone and the silver inside the crucible resembles liquid mercury.
Now it’s ready to pour. The flask is positioned on a vacuum suction to help draw the liquid metal down to the bottom of the flask. Inside the flask, the liquid silver fills all the recesses and empty spaces of the shells, limbs, and trunk of the sprue tree.
The temperature of the flask will hover around 1100 during the metal pour. It must cool even more before it can be submerged in cold water.
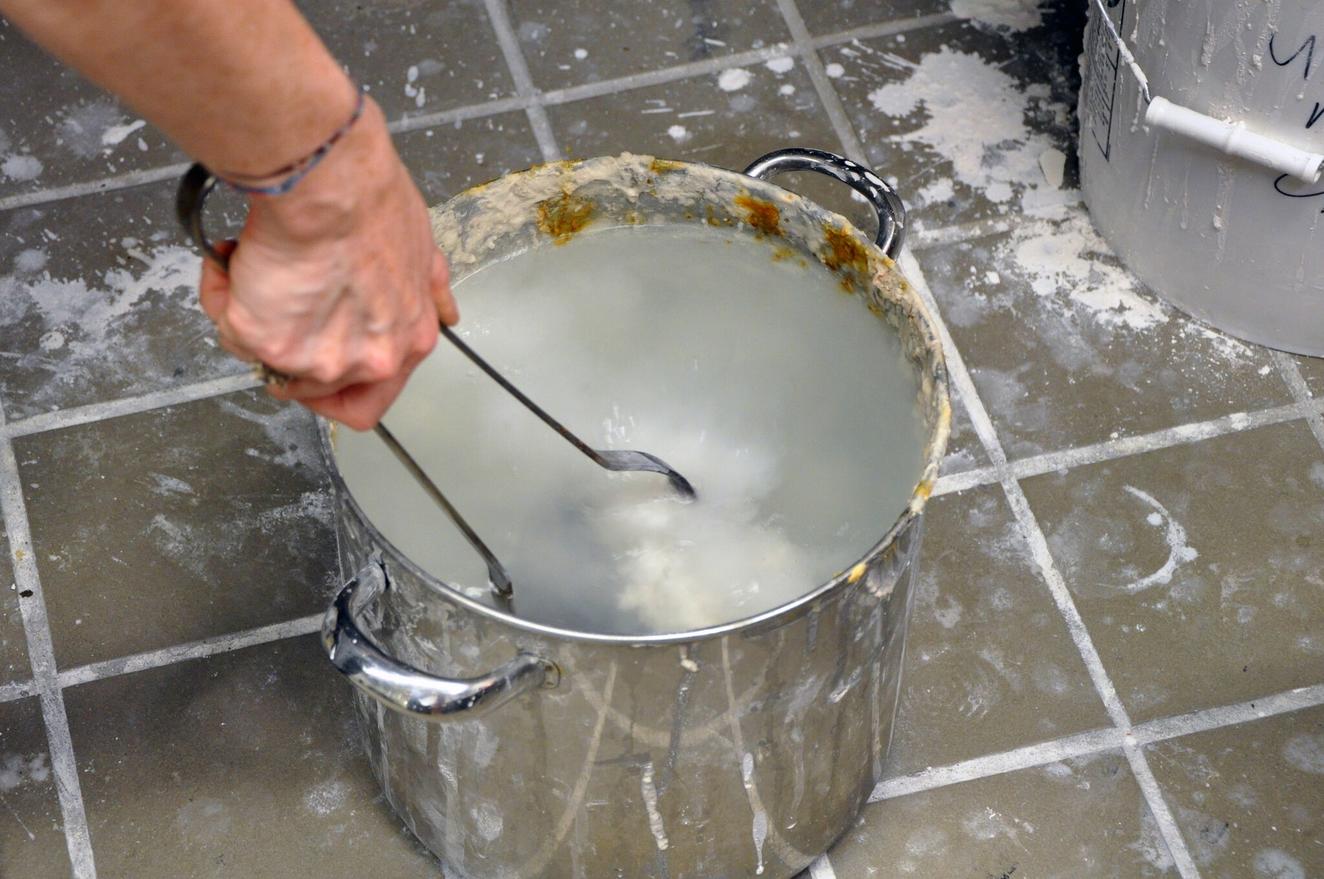
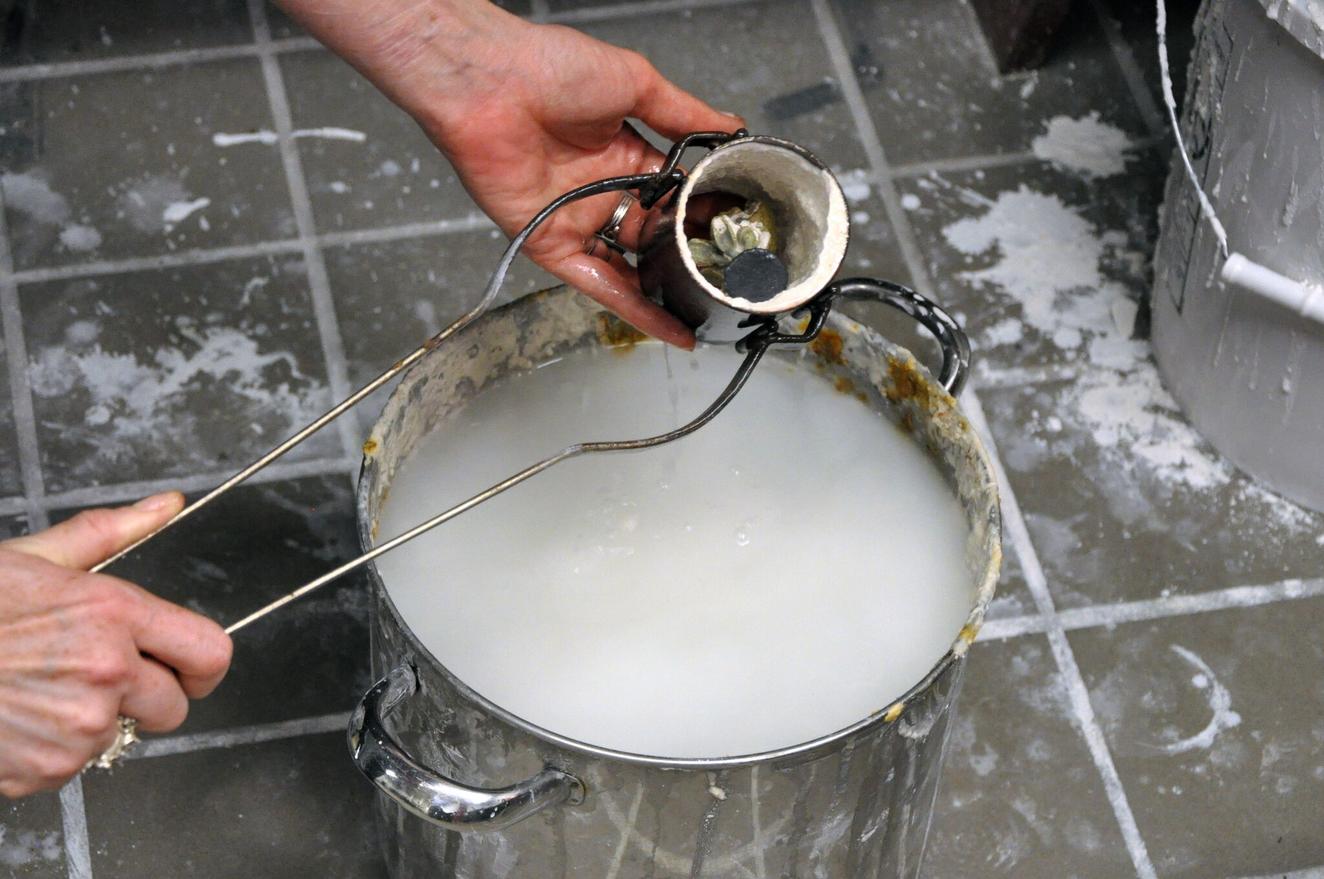
The heat and pressure that are released as the hot flask hits the water cause the water to boil—this is called quenching. The investment dissolves and is expelled from the flask. Once the bubbling has stopped, I can pull the flask out of the barrel. This is the moment of truth, when I see if the casting has been successful.
After quenching, the cast elements emerge from the flask still partially covered in investment. They resemble treasures dredged up from the sea floor, still encased in the sediment that has been their home.
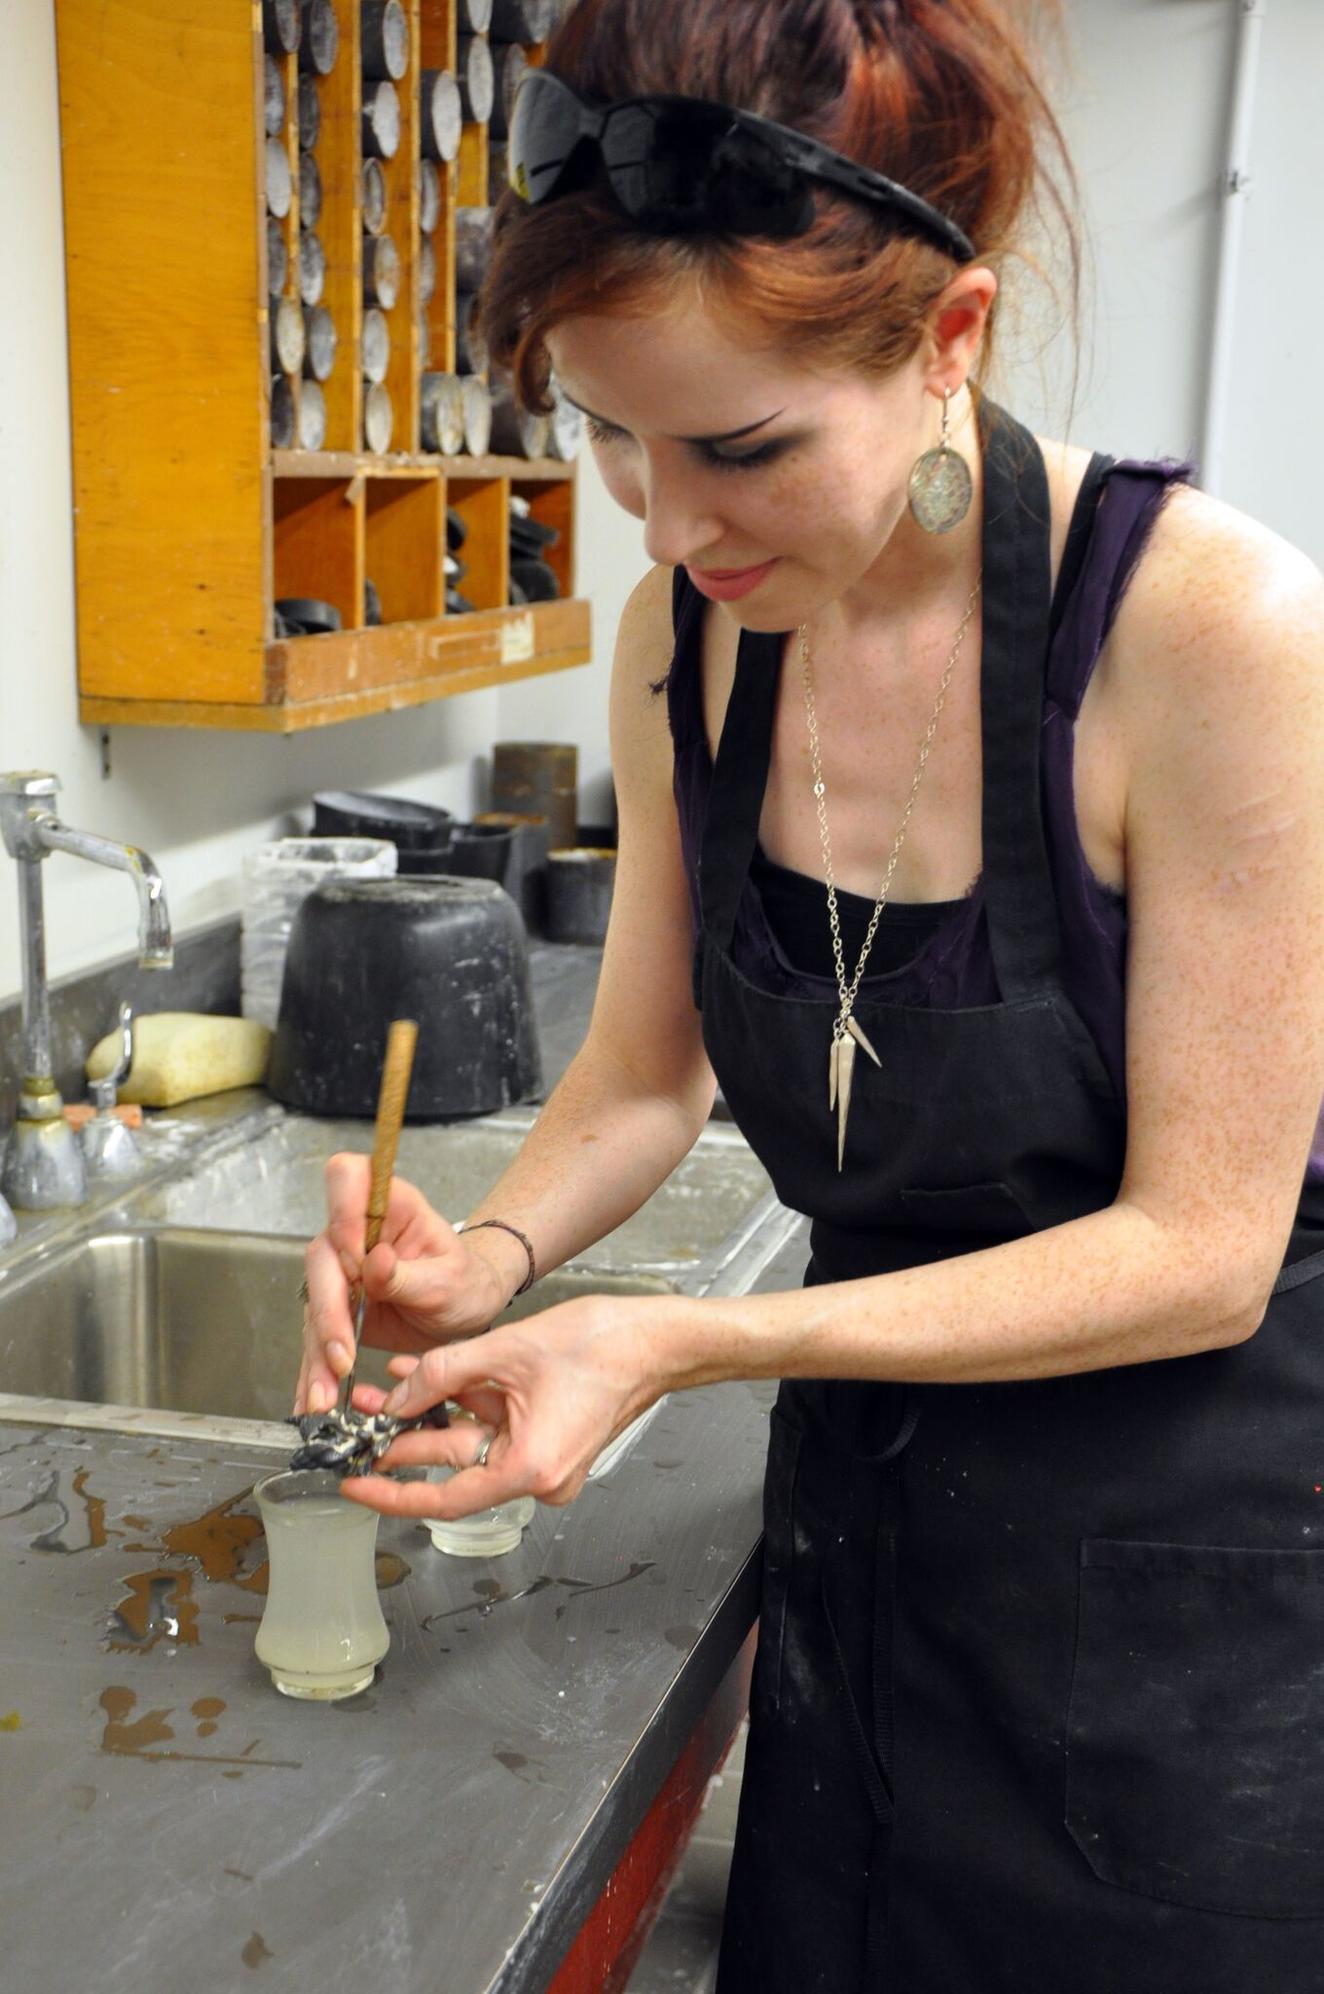
I clean the casting and dig out the larger pieces of investment before putting it in an ultrasonic cleaner for 30 to 60 minutes. Within the ultrasonic, the piece is submerged in water while the machine produces vibrations that help loosen the remaining investment from all the nooks and crannies. Once the casting is completely clean, the small shell elements can be cut from the sprue trees, shaped, and filed so that they can be used in my brooches.
Here are the filed and polished elements. The cast-silver shells begin to resemble the sea elements of the Narragansett set.
DESIGNING—”SKETCHING” WITH OBJECTS
Once I have all my separate elements, I spend some time arranging and rearranging them in different ways to see what combinations I like best. I consider size, shape, textures, orientation, and how much juxtaposition or uniformity I want to bring to each piece. I make dozens of different combinations, taking quick photographs so I can keep track of the ones I like. Since many of the elements look similar, documenting this stage is extremely helpful.
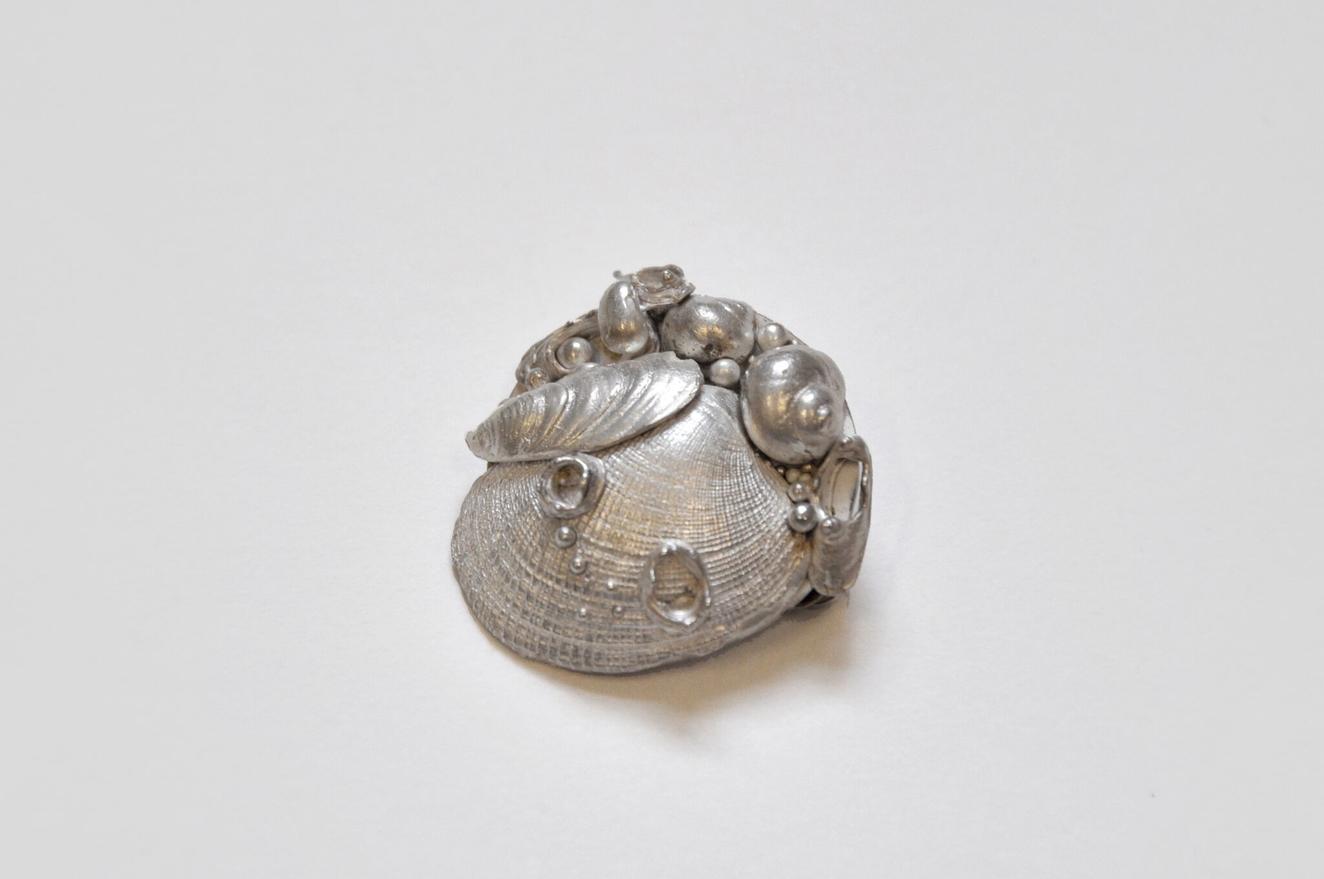
Once I’ve made decisions about the composition of each brooch, I solder the pieces onto a simple silver sheet backing and complete the piece with a pin stem and patina.
FINISHED PIECES: FIVE BROOCHES
Lillian E. Webster is an artist and metalsmith with an MA in Spanish Literature and an MFA in Jewelry/Metals. She was the 2016 Andrew W. Mellon Summer Curatorial Intern in Decorative Arts and Design at the RISD Museum.

